Friday, 4 November 2022
Restoration of 25ft Motor Cutter - 8
Monday, 9 August 2021
Restoration of 25ft Motor Cutter - 7
Although busy in the early part of 2021 getting the Finesse 24 ready for the water I have been working on various jobs on the Cutter when time allows.
| Bench assembly of new control panel |
A new control panel had to be built for the engine 'from scratch' based on pictures and diagrams in the engine manuals and my own research. A frame was constructed and a sandwich of a sheet of marine plywood and 16 -gauge galv. steel sheet formed the panel. I had been collecting suitable instruments; oil pressure and temperature gauge and ammeter joined the tachometer that came loose with the engine. Speed control lever was fitted with link arm and rod to connect with governor quadrant and a rod and handle made to connect to the oil filter actuator lever.
| Control panel mounted to engine |
Switch, pushbuttons and warning lamp were fitted and wired for glow plug, starter and dynamo control. A regulator for the dynamo has been hung on the back of the panel. The dynamo I've found is not 'correct' for this engine as it should have a CAV D45 model with attached regulator and the one I've opted for in the absence of the CAV is a Lucas C45 from a tractor of similar vintage that has a low-enough 'cutting-in' speed.
| Engine controls assembly underway. Rod links governor quadrant with speed control lever. |
| Overhauled fuel pump and injectors |
After carrying out further tests I was not happy with the way the engine starts and runs and elected to have the injectors and pump checked and overhauled. One very big bill later the injectors have been fitted with new nozzles, pressures set and the pump cleaned and calibrated together with the supply of a new pair of injector pipes. The engine is now nearly ready to be lifted into the boat.
| Another old skinfitting hole to be plugged |
| Final part of forefoot fitted |
| Lifting eye holes plugged and filled |
![]() |
| Lifting eye and fish-plate now surplus |
![]() |
| Old bolt hole plugged with oak plug epoxied into place |
In the boat I had continued plugging various surplus holes in her topsides and decided not to refit the forward lifting plate. This was originally secured by four 5/8" copper bolts that were fitted at odd angles which must have reduced the strength of the keel in this area. I was concerned about making all these fastenings watertight again after the removal and now that the scarf for the keel repair passes through the plane of half of the bolts. So, I have simply glued hardwood plugs into all the old fastening holes and have 'deleted' the lifting eye that will become a paperweight or some such. At the forefoot a final outer piece was glued and screwed on to replace the ragged and damaged timber here.
| Seacock refitted in its original location ahead of engine, aft of the centre bulkhead. |
I had opened up the original location of the engine intake seacock and made a mounting plate for the thing and bolted it back in place. When the outside of the hull has been filled and faired I have a new bronze strainer/scoop to fit over the intake.
| Damp towels deployed in below waterline areas inboard |
| White tarps to keep sun off |
We had a brief heatwave late in July and damp towels and sacks were deployed together with the white tarps hung over the sides to protect the hull from direct sun. She has opened up a bit but I am trying to limit this as much as possible in the below waterline areas. I'm not keen on spraying fresh water around in a boat but this is treated tap water and it is not allowed to lie for long. From previous experience; if a clinker hull dries too much the strakes get tensioned across their width which encourages splitting along the lines of fastenings.
| Remains of a Cutter |
| Just part of a keel with bits of hog and garboard |
| Iron lifting eye still attached |
We had been told about the existence of another Motor Cutter on the Haven and on a recent walk we found it... just the remains of it... only part of the keel with a lifting eye (iron) still attached. This boat appears to have been burnt when her usefulness was over. There is not enough left of this boat even for me to attempt to restore....
Sunday, 31 January 2021
Restoration of 25ft Motor Cutter - 6
Following on from the previous post where we made a small repair section for the forward end of the keel and cut scarfs to fit now we fit it into place....
With the section in place holes were drilled for the new bolts and 3/8" bronze threaded rod used to make them. The existing bolt holes through the fore deadwood and hog were re-used
Bedding compound was made up in the traditional manner by mixing red-lead with linseed oil putty thinned with raw linseed oil.
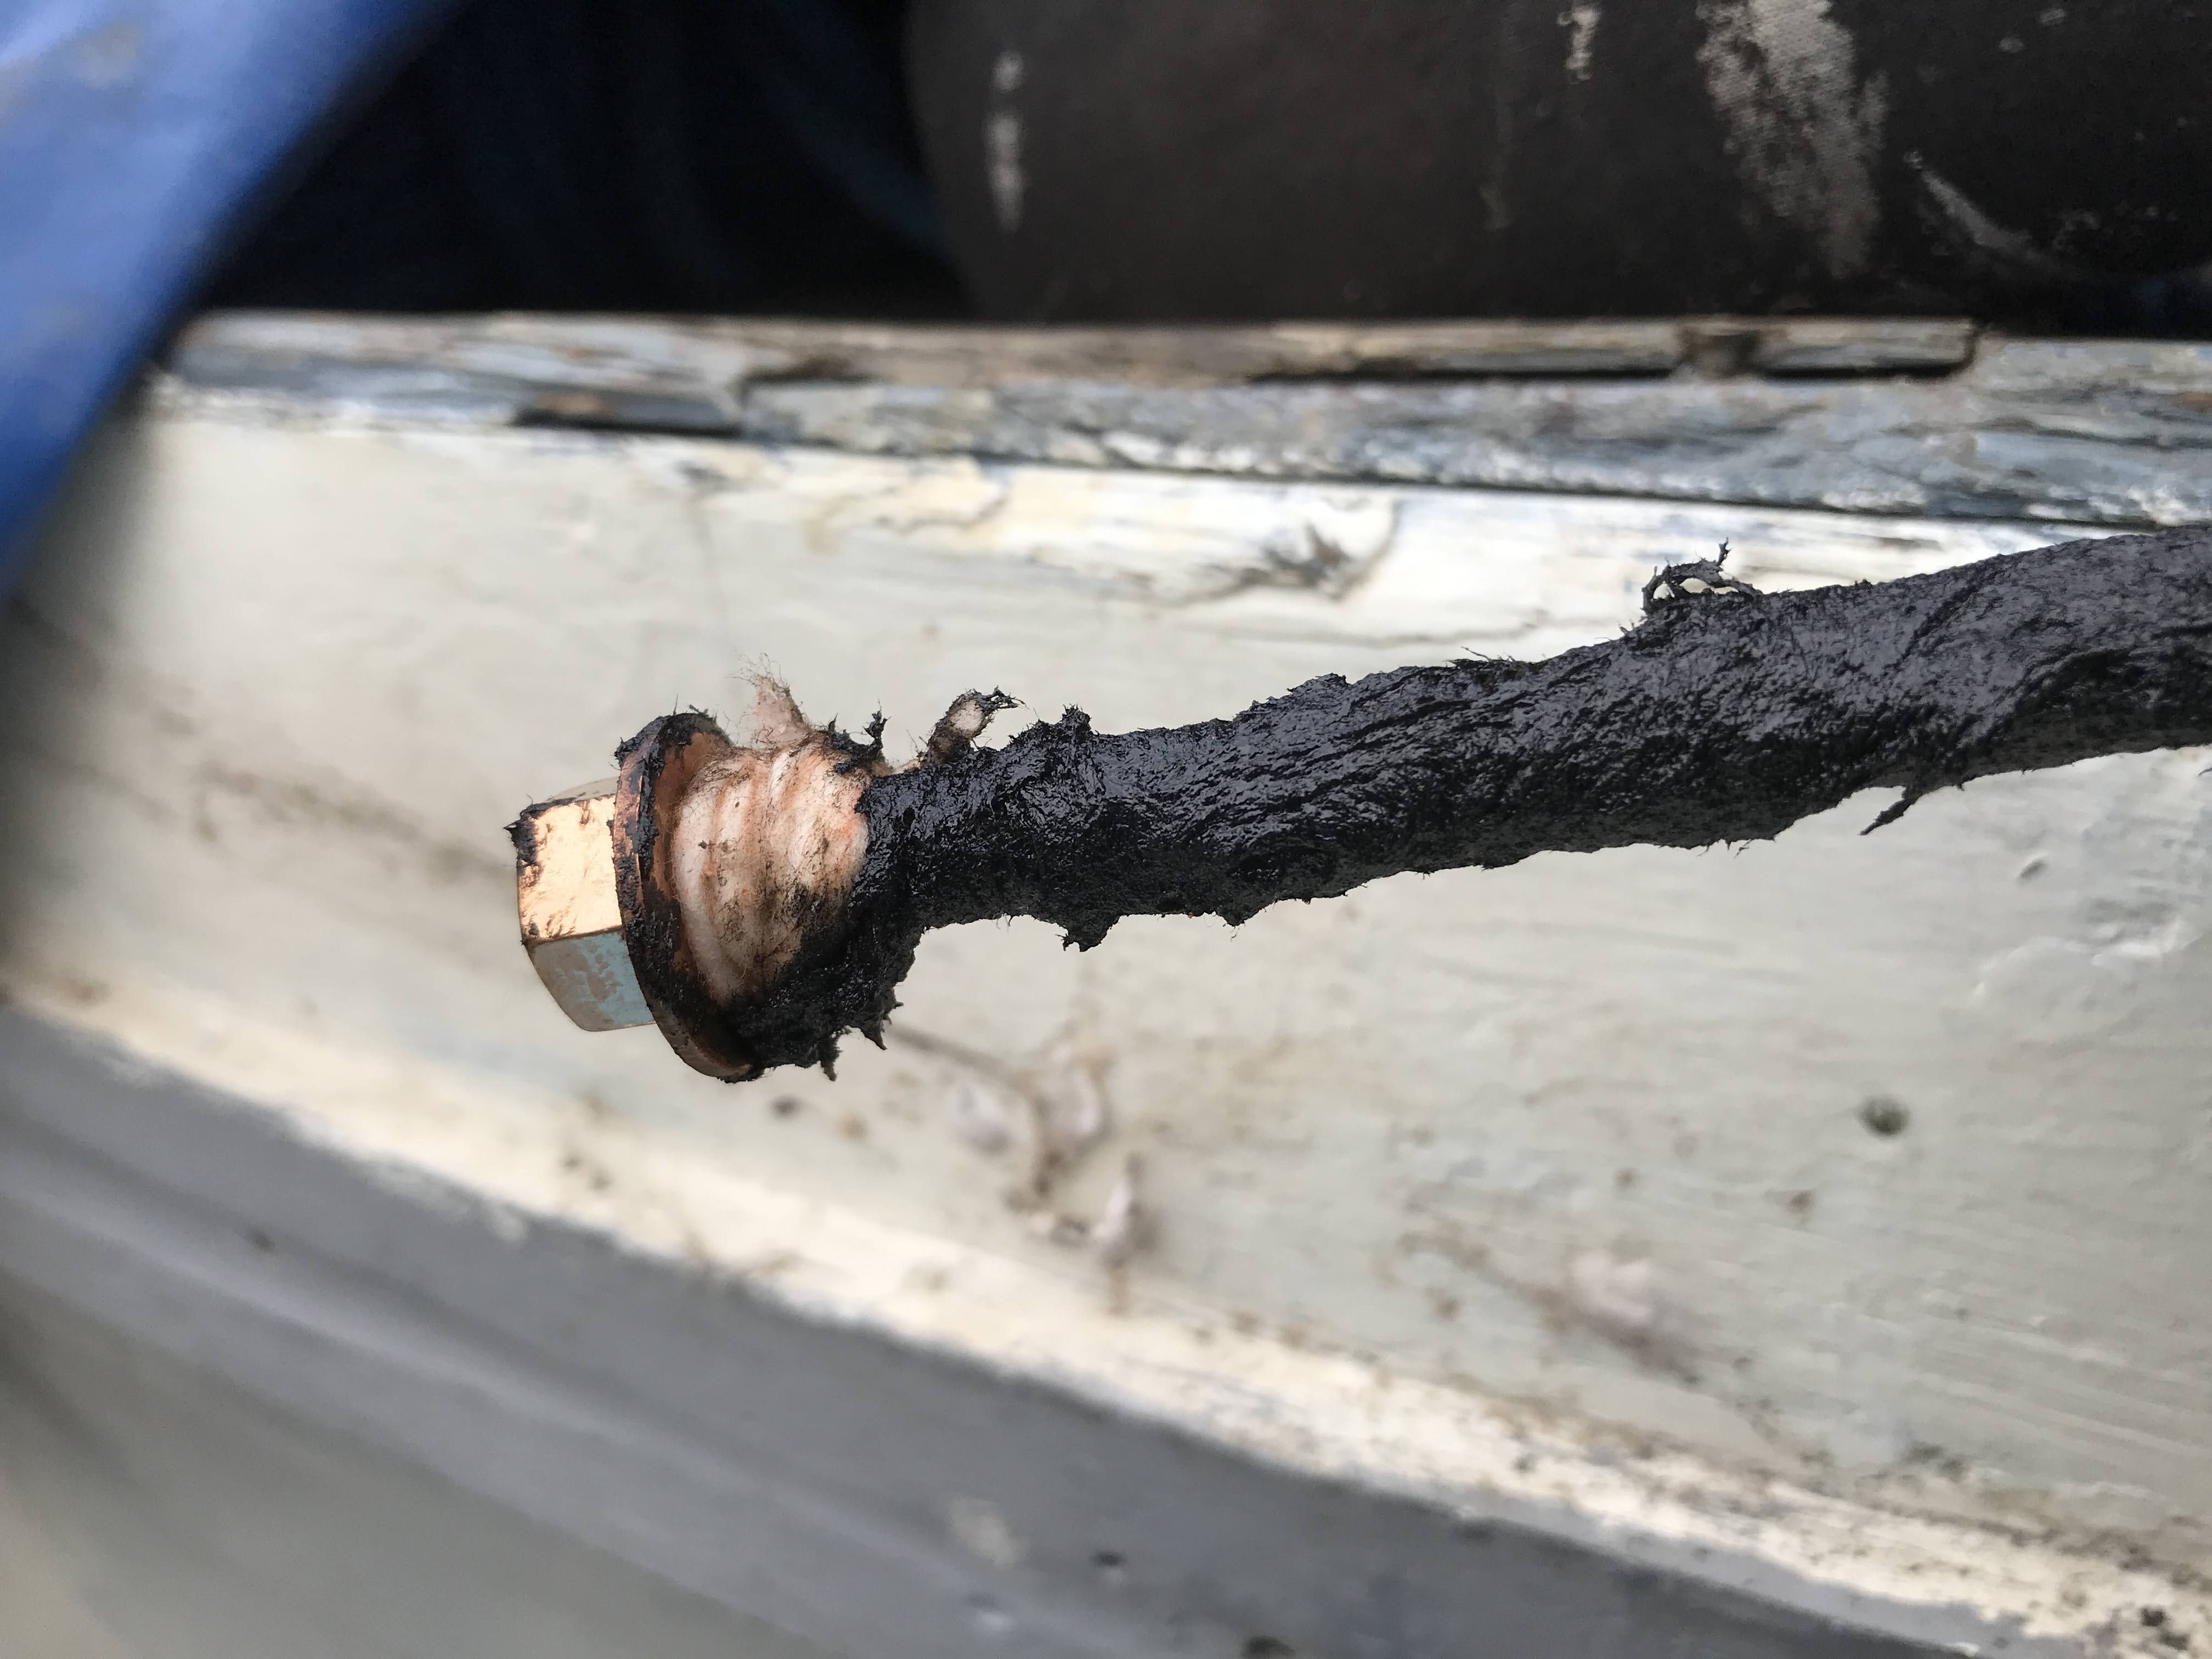
The bolts were sealed by smearing them with bitumastic compound and a cotton grommet and everything was bolted-up tight.
| Ingredients for making re-lead putty |
| Red-lead putty mixed and ready |
| Bronze bolts sealed with bitumastic and cotton |
| Bolted up tight |
There was a smaller section of timber right on the curve of the forefoot that was crumbling from being encased in the iron 'shoe'. This again was a later addition and presumably a repair after past damage.
| Forefoot having a clean-up for a new piece of timber to be fitted |
At this stage in our works the weather got colder and wetter and the virus pandemic halted our works.
| Varnishing - 3-coats for now to seal and protect the new timber |
| Cardboard mock-up Lucas C45 dynamo to check for fit. The oil pressure gauge is temporary. |
| This pulley had been fitted to the drive hub |
| Pulley removed to leave the 1 3/4" spigot - this turns at 1.4 times engine speed |
| This is what it should look like |
| Control panel manufacture underway |
Just before Christmas 2020 a timber supplier I occasionally order from was offering 1m3 bundles of sapele offcuts. I purchased one and a whole stack turned up so now we've got sufficient timber for pretty much all the internal joinery and also the framing for the cuddy and cabin top.
| Plenty of sapele - most of these are more than 4m long. |
Wednesday, 28 October 2020
Restoration of 25ft Motor Cutter - 5
Work to repair the keel involved cutting a new scarf on the forward end of the keel which had been lopped off by the original repairers. We had previously driven out and removed the four 5/8" copper rivets that held the forward lifting eye plate but there remained a 3/8" copper keelbolt through the section in which we were to cut the scarf. There is a bolt like this every 6-7" throughout the length of the keel.
| Keel bolt being driven out. Line of scarf marked on keel timber. |
The scarf line was marked on the keel and using a power reciprocating saw (which was a Godsend as the timber is very, very hard) the scarf was cut to near the line.
| Sawing along the line of the scarf |
We attempted to rasp, chisel or plane the scarf but lying on one's back under the boat coupled with the hardness of the wood made this a very difficult task. We opted for the router solution and carefully made and clamped a guide ramp to the keel and ran the router fitted with an end mill over it.
| Router guide clamped to keel |
| Cleaning up the face of the scarf didn't take long |
The scarf was given a final clean up with the chisel.
| Completed scarf. The holes are the lifting eye-plate bolts |
| Cutting and fitting the new timber section |
| Checking the new section for closeness of fit. |
The forward scarf had an existing stopwater tight in the joint between forefoot and hog underside and the new timber's scarf was cut to match this. The sides were carefully planed to give a seam for caulking and it was made to fit snugly up to the underside of the hog.
Tuesday, 6 October 2020
Motor Cutter Restoration - 4 Work continues
Work on the boat slowed somewhat during the lockdown as I was only able to visit the boat occasionally on my way home from work. My buddy, Pete, was unable to work with me. However I was able to clean down her bottom and get some primer on to slow her opening up as the weather became warm and dry in April.
| Underwater primer going on |
| A couple of coats of primer on the bottom |
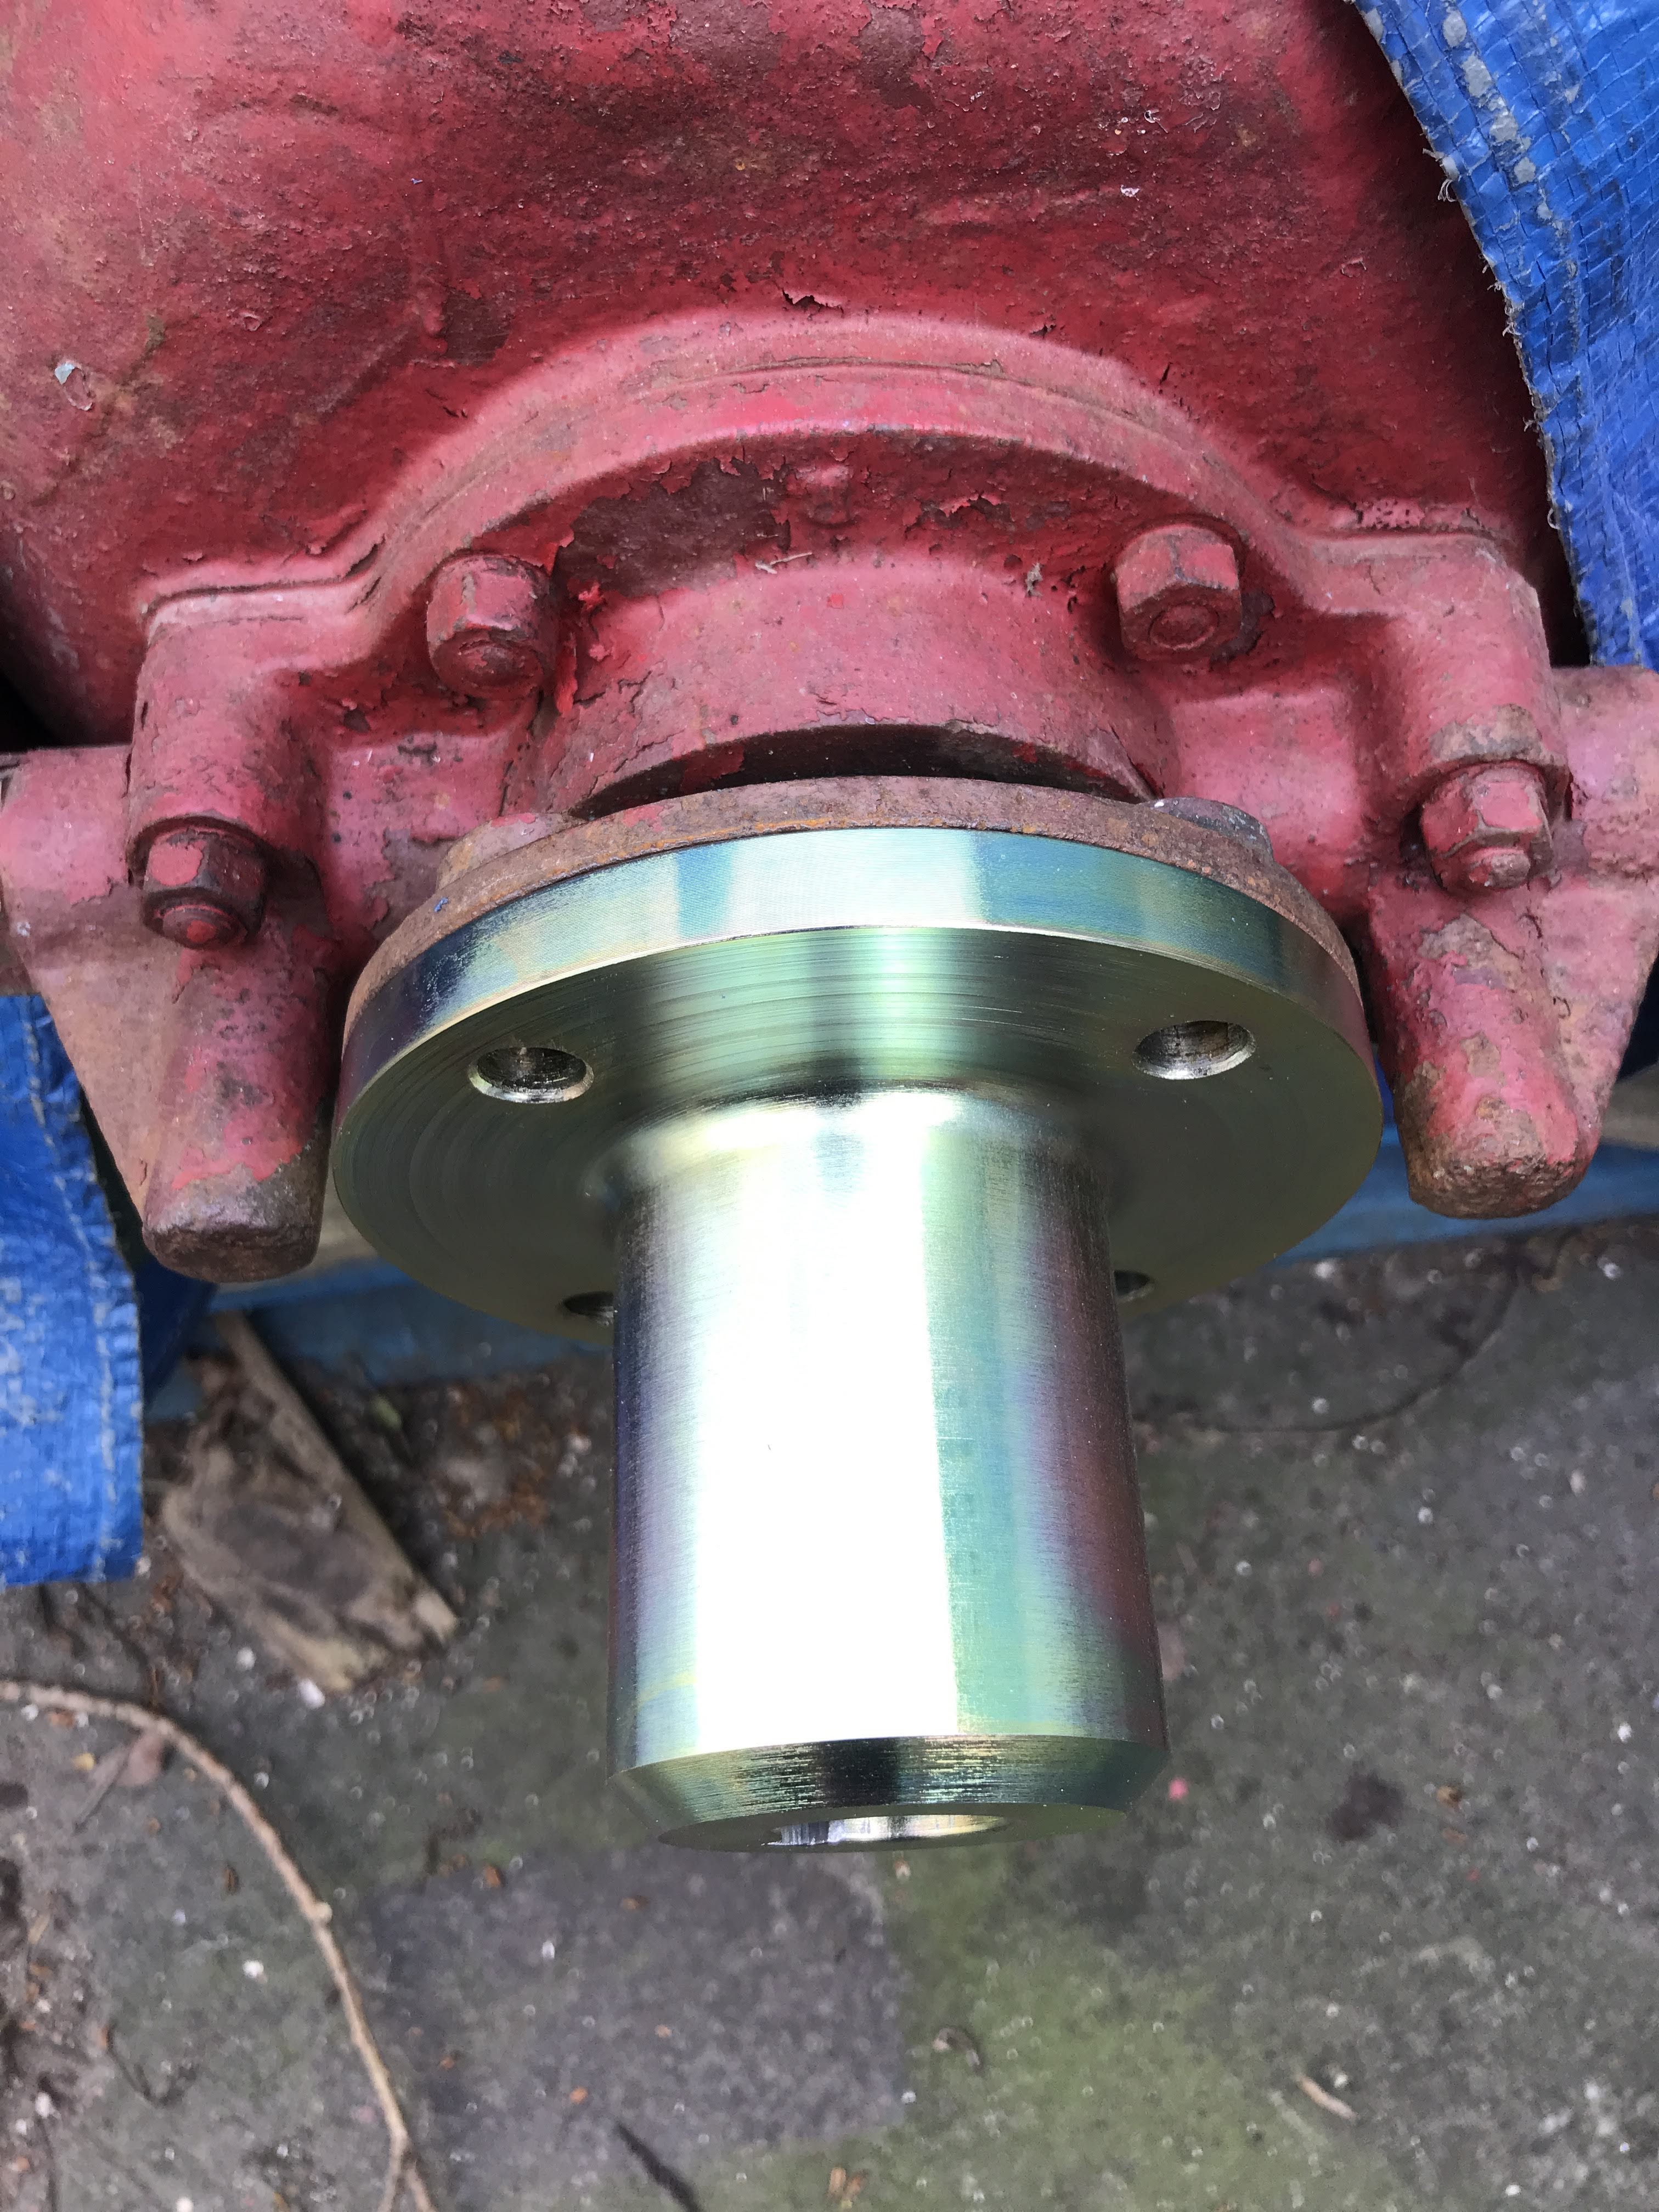
Another job I tackled was to find a coupling to fit the propeller shaft that would match the output flange of the Dorman's gearbox. Nothing was available off the shelf so I drew a dimensioned diagram of the coupling to suit the 12:1 shaft taper and keyway and had it made by a specialist. Not cheap but it is an excellent job. The Cutter has 1 1/8" diameter tail shaft which is a non-standard size these days and I was warned that if a new shaft was required it would have to be specially ground. Fortunately the shafting is in good condition with very little wear, straight and no damage.
![]() |
| Custom-made prop shaft coupling |
| Perfect fit on gearbox... |
| ...and shaft taper. |
Various small holes in the hull were plugged and repaired..
| This was were the engine intake seacock had been moved to. All these holes were plugged and a tingle glued on the inboard side. |
| Nasty holes and damage caused by a sacrificial anode mounting studs |
| Holes cleaned out and iroko plugs glued in place - grain orientated in line with plank's. |
Fortunately the boat's original seacock had survived and it was carefully dismantled and cleaned. Its original location and part of a bronze adaptor plate still existed, although plugged and covered with a wooden tingle. This was removed and the fastening holes opened up again since I'm going to re-install the seacock in its original location as per the plans, since it will be adjacent to the engine's pump intake.
![]() |
| Seacock checked and cleaned - a lovely bronze fitting. |
| Original seacock location |
| Part of one of the mounting plates; holes line up exactly. |
| Bilges under engine cleaned and primed |
| Loose paint - lots of it - stripped in stern sheets |
| ... and primer applied. |
| Repaired frames primed |
| Bilges given a coat of grey bilge paint. Orange glow caused by sunlight shining through the cover. |
The midships bulkhead was sealed and fastened into place and the thwart screwed down tight on top. The knees were then nailed and riveted - these used 6-gauge copper nails up to 6" long with 3/4" roves to suit.
| Bulkhead finally fitted and fastened |
| Knees being fastened |
| Midships and forward thwarts fastened |
| These stiffen the boat up considerably |
| Checking valve gear |
| Fuel and cooling water hooked-up |
| It lives!! |
There are a few jobs to do to the engine before it can be installed: It needs a dynamo or alternator to be driven from the 'Vee' pulley on the side of the engine, speed control and linkage and a control panel to mount gauges and switches.
| Cleaned and de-greased |
| Red oxide on |
| Two coats of grey enamel... |
| ..and black fitments. |
| There are lots of parts on the Dorman that can be polished. |
Back to the Cutter we investigated the suspicious steel 'shoe' that encased the forward part of her keel. It was bursting with rust and so the remains of bolts were cut off and driven out and the thing was sliced and prised-off.
| Cutting away at the steel 'shoe'. |
| Peeling it away |
| Freeing the forward keel section |
| Cutting the lifting plate fastenings |
| ..and driving them out. |